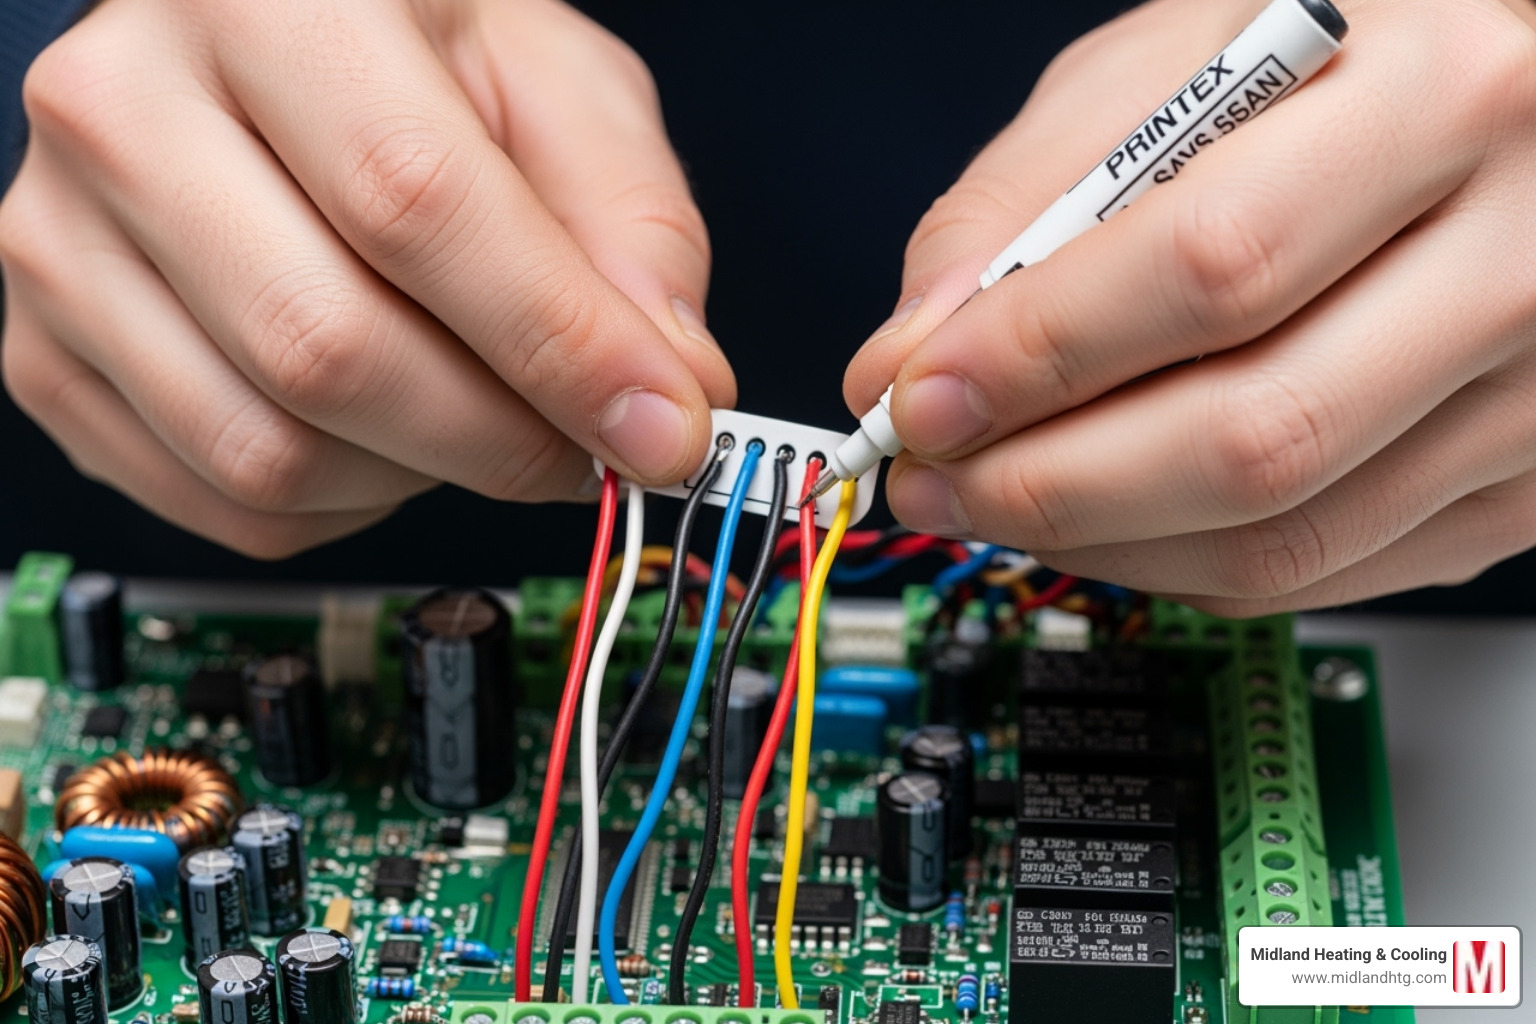
The Brain Behind Your Home’s Comfort: Understanding Furnace Control Boards
Furnace circuit board repair is a critical aspect of heating system maintenance. When a furnace stops working, homeowners often suspect the filter or thermostat, but the real culprit is frequently the small electronic board that controls the entire system.
Quick Answer for Furnace Circuit Board Issues:
- Turn off power at the breaker and furnace switch
- Check for obvious signs – burnt smell, visible damage, flashing LED codes
- Take photos of all wire connections before removal
- Replace the board by transferring wires one at a time
- Test the system after reconnecting power and gas
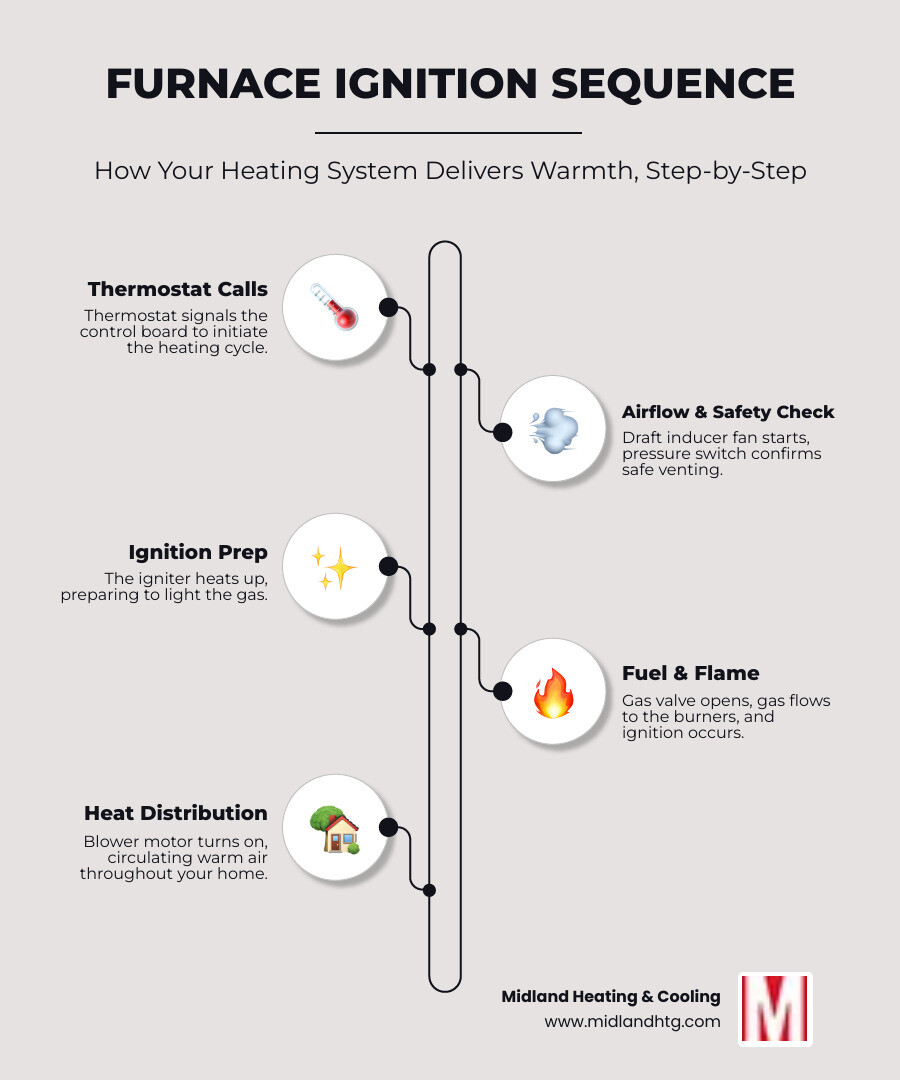
The furnace control board, or motherboard, is the brain of your heating system. It receives the signal from your thermostat and orchestrates the heating sequence: starting the draft inducer fan, opening the gas valve, igniting the burners, and activating the blower motor.
When this component fails, your heating system can shut down or operate erratically. With the right knowledge and safety precautions, many homeowners can replace a faulty control board themselves.
Furnace control boards typically last 10 to 15 years. Replacement costs can range from a simple DIY part purchase to several hundred dollars for professional service. Understanding when to DIY versus calling a professional can save you time and money during Minnesota’s harsh winters.
Is Your Control Board Failing? Key Warning Signs
When your furnace’s “brain” falters, it can be hard to diagnose. Understanding these key warning signs can help you pinpoint a potential furnace circuit board repair need before you’re left in the cold.
Keep an eye out for these common clues:
- Furnace won’t turn on: You adjust the thermostat, but nothing happens. No clicks, no hum, no heat. This often means the board isn’t sending the signals to start the heating process.
- Intermittent operation: The furnace starts, runs for a short time, then stops unexpectedly. It may also cycle on and off too frequently, which can indicate a faulty relay on the board.
- Blower runs constantly: Even when there’s no call for heat, the fan keeps running. This usually points to a stuck relay switch on the control board that can’t signal the blower to stop.
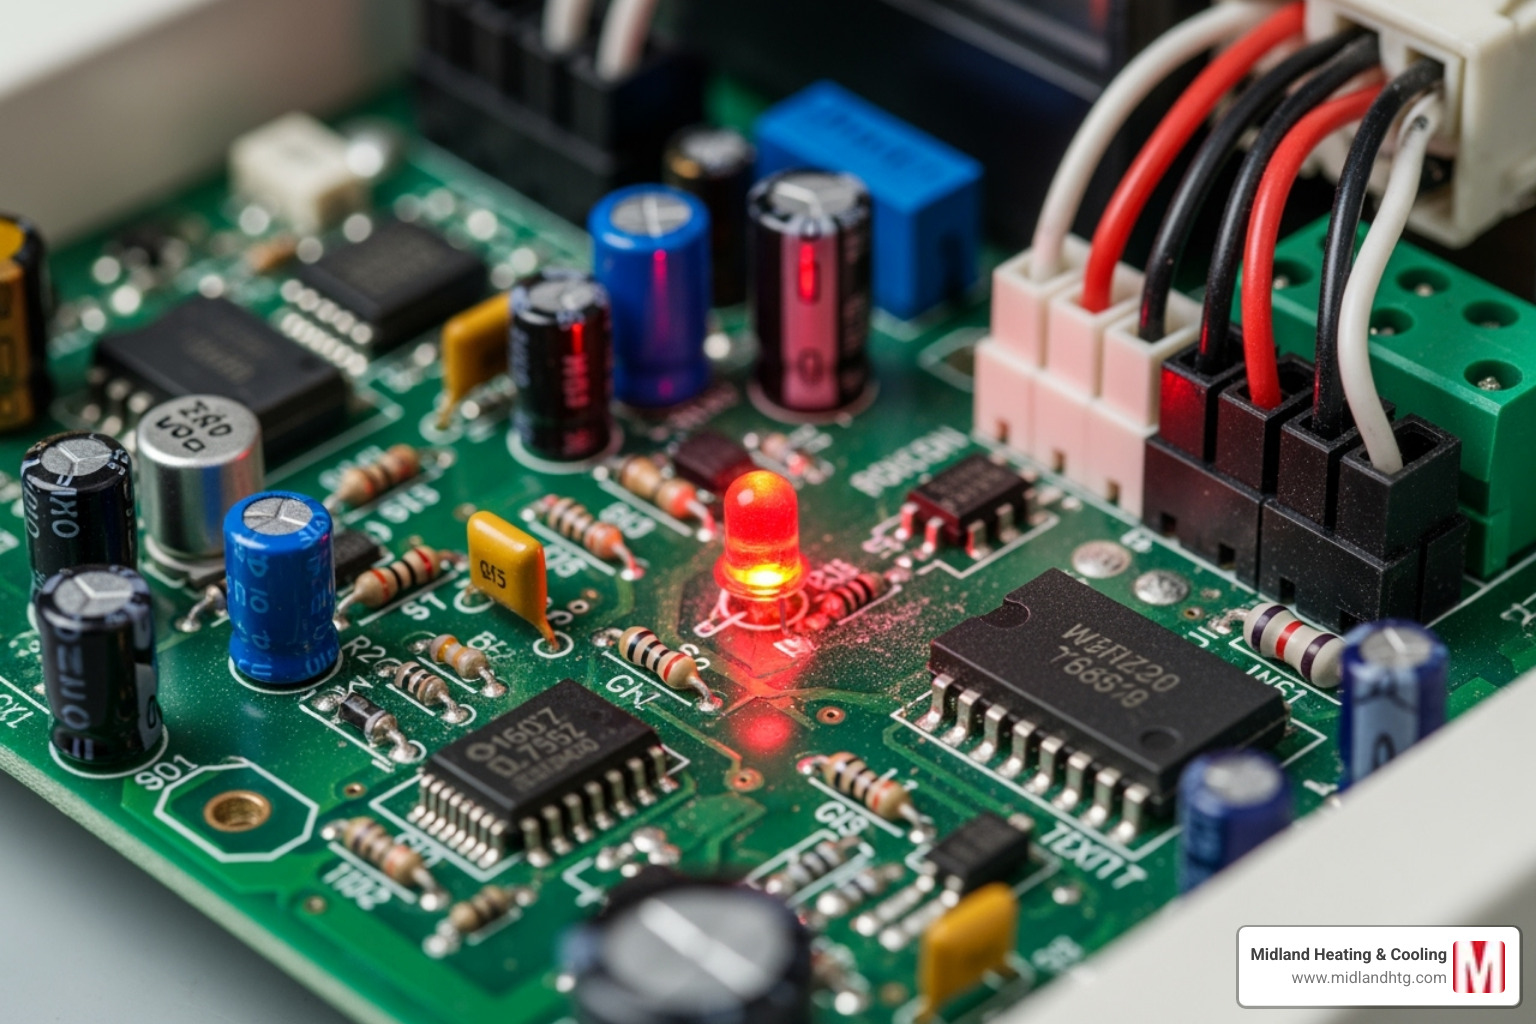
- Error codes or flashing LED lights: Many modern furnaces have a diagnostic LED light on the control board. These flashing codes are the furnace’s way of telling you what’s wrong.
- Burning smell: A distinct smell of burnt plastic or ozone is a serious warning sign. It could mean an electrical component on the board is overheating or has shorted out and requires immediate attention.
- Visible damage: After turning off the power, a visual inspection may reveal burn marks, swollen components, or discolored areas on the board itself—all clear indicators of failure.
If these signs seem familiar, your furnace may need attention. Control boards typically last 10 to 15 years, so these signs are more significant on older units. For more information, see our guides on Signs You Need Furnace Repair and Common Furnace Repair Problems and Solutions.
Common Causes of Failure
Control boards are sensitive, and several common culprits can cause them to fail:
- Age and wear: Electronic components naturally degrade over time, and a board may simply reach the end of its operational lifespan.
- Power surges: A sudden spike in electricity from a storm or grid fluctuation can fry the delicate circuits on the board.
- Clogged filter: A dirty filter restricts airflow, causing the furnace to work harder and overheat. This excess heat can cook sensitive components on the control board.
- Overheating: Beyond a clogged filter, poor ventilation or other system issues can cause the furnace to run too hot, cracking solder joints or burning out components.
- Moisture damage: A leak or excessive condensation can drip onto the board, causing short circuits and corrosion.
- Fractured solder joints: Vibrations from normal operation can cause microscopic cracks in solder joints over time, interrupting electrical flow.
- Stuck relays: Relays are switches that control components like the blower motor. If one gets stuck in the on or off position, the component it controls will run constantly or not at all.
Reading the Diagnostic Codes
Modern furnace control boards use a flashing LED light to communicate error codes, helping you diagnose the problem.
Here’s how to decode the flashes:
- Locate the LED: Find the small green or amber light on the control board. You may see it through a small window on the furnace access panel or need to remove the panel to view it (always turn off the power first).
- Consult the furnace panel chart: Most furnaces have a chart on the inside of the access panel that explains what each flash pattern means. For example, two short flashes might indicate a pressure switch issue.
- Interpret the pattern: Carefully observe the number and duration of flashes and the pauses between them. Match this pattern to the chart to get a specific error code, which often points directly to the faulty component, such as the flame sensor, a pressure switch, or the control board itself.
These codes are incredibly helpful for guiding you or a technician to the source of the problem, making repairs faster and more accurate.
DIY Furnace Circuit Board Repair: A Step-by-Step Guide
If you’re comfortable with basic electrical work, replacing a furnace control board can be a manageable DIY project. It requires careful documentation and methodical work, much like swapping a computer’s motherboard.
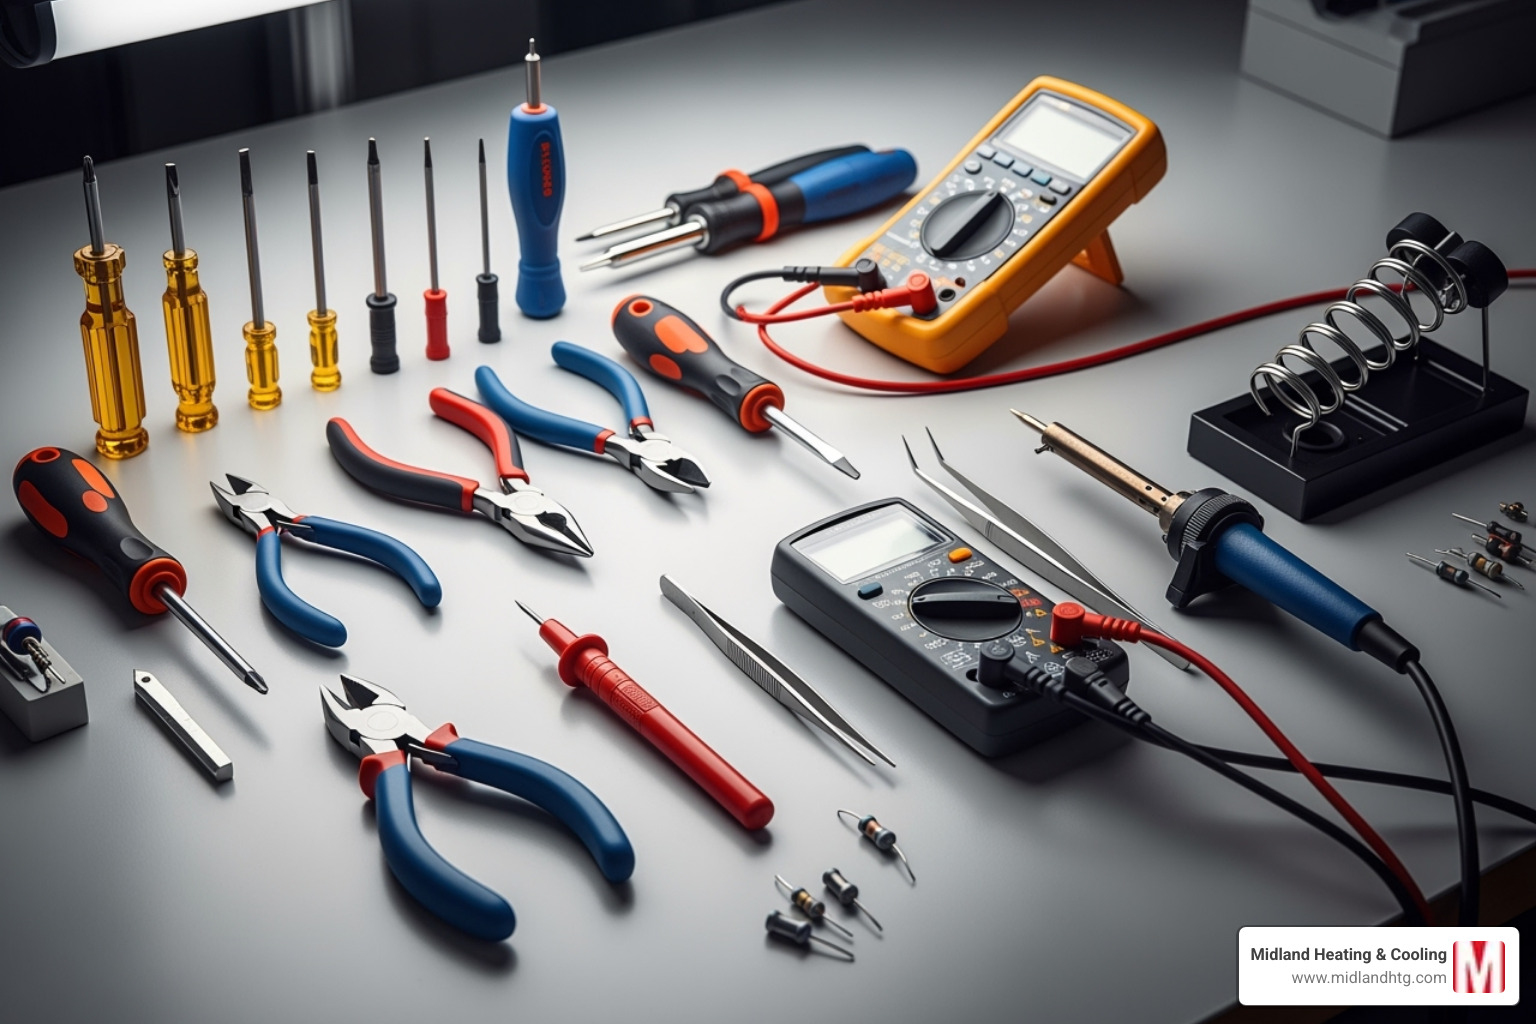
Before starting, gather your supplies: a screwdriver set, pliers, a multimeter (to verify power is off), your replacement board (ensure it’s an exact match for your furnace model), zip ties, a marker, and your smartphone camera. Always wear safety glasses and gloves.
Step 1: Safety and Preparation
Safety is the most critical part of furnace circuit board repair. One mistake with electricity or gas can be dangerous.
First, turn off all power. Flip the furnace’s circuit breaker to “OFF” at your home’s electrical panel. Then, turn off the local power switch, which is usually on or near the furnace itself.
For gas furnaces, shut off the gas supply. Find the gas line leading to the furnace and turn the handle or knob so it is perpendicular to the pipe.
Next, verify the power is off. Use a non-contact voltage tester or a multimeter to confirm no electricity is flowing to the furnace connections. This is a crucial safety check.
Finally, put on your safety glasses and gloves. Before touching any components, touch a metal part of the furnace frame to discharge any static electricity from your body, as it can damage the sensitive electronics on the board.
Step 2: Accessing and Removing the Old Board
With safety addressed, it’s time to access the board. Remove the furnace access panels, which are typically held by screws or clips and cover the blower compartment where the control board is located.
Locate the control board. It’s a green circuit board, usually mounted near the blower motor, with many colored wires connected to its edges.
Before touching anything, take multiple, clear photos of all wire connections. Use different angles and get close-ups. This visual record is essential for correct reinstallation.
For added security, label the wires. Use masking tape and a marker to note the terminal designation for each wire (e.g., “R,” “W,” “G,” “Y,” “C,” “FAN,” “IGN”).
Disconnect the wires patiently. Some are spade terminals that slide off, some are screw terminals, and others may be multi-wire harness plugs. Do not force any connections.
Finally, remove the mounting screws or plastic clips holding the board in place. Keep this hardware, as you will need it for the new board.
Step 3: Installing the New Control Board
Installing the new board is essentially reversing the removal process, using your photos and labels as a guide.
First, compare the old and new boards side-by-side to ensure they are identical in layout and size. If they differ significantly, verify you have the correct replacement part.
Mount the new board in the same position as the old one, using the original screws or clips. Ensure it is seated firmly to prevent vibration issues.
Now, reconnect the wires. Referring to your photos and labels, connect each wire to its corresponding terminal on the new board. Double-check every connection to prevent damage or malfunction.
Secure the connections so they are snug but not overtightened. Spade connectors should click or slide fully into place.
Use zip ties to bundle wires neatly, keeping them away from moving parts or heat sources. A tidy installation is safer and more reliable.
Replace the access panels, restore the gas supply (turn the handle parallel to the pipe), and turn the power back on at the breaker and the furnace switch. Set your thermostat to call for heat and listen for the furnace to start. If it operates correctly, you’ve completed the furnace circuit board repair. If you encounter issues, it may be time to consult a professional. Learn more about How Technicians Handle Furnace Repair to understand their process.
The Big Decision: Repair, Replace, or Call a Pro?
When your furnace control board fails, you face a decision: attempt a DIY furnace circuit board repair, or call a professional? The choice balances cost savings against safety, risk, and the need for a reliable repair.
A DIY replacement can save significantly on labor costs, but it also means you assume all the risk, including potential electrical shock, gas leaks, and incorrect wiring that could damage the new board or the furnace itself.
Professional replacement has a higher upfront cost but provides peace of mind. Certified technicians have the right tools and expertise, and their work is typically warrantied. If something goes wrong, the responsibility is on them, not you.
| Factor | DIY Replacement | Professional Replacement |
|---|---|---|
| Cost | Only parts cost (can be significantly lower) | Parts cost + significant labor fees |
| Time | As long as it takes you (can be quick if prepared) | Often a single visit, but scheduling may vary |
| Risk | High (electrical shock, gas leaks, incorrect wiring, damage to new board, voiding warranty) | Low (certified technicians, insured work) |
| Warranty | On part only (if applicable) | On part and labor (typically 1-2 years) |
| Expertise | Requires mechanical skills, attention to detail | Certified, experienced technicians with diagnostic tools |
| Tools | Basic hand tools, multimeter, camera | Specialized diagnostic equipment, full toolkit |
Also, consider your furnace’s age. If your system is over 15 years old, investing in a major repair might not be the most cost-effective solution. It may be time to learn When to Consider Furnace Replacement.
The Cost of Furnace Circuit Board Repair vs. Replacement
The primary cost difference between DIY and professional service is labor. With a DIY repair, you only pay for the part. With professional service, you are paying for the technician’s diagnostic time, expertise, and the guarantee of a correct installation. HVAC contractors’ knowledge is especially valuable for complex diagnostics or during Minnesota’s harsh winters. For expert diagnostics and professional installation in the Minneapolis area, see our HVAC Repair Services.
Risks of DIY and When to Call a Certified Technician
Before attempting a DIY repair, understand the risks:
- Electrical shock: Furnaces use high voltage, and residual power can cause serious injury even if the breaker is off.
- Gas leaks: Mistakes affecting furnace operation can lead to unsafe conditions, including fires, explosions, or carbon monoxide poisoning.
- Incorrect wiring: Miswiring can instantly damage the new board, create a fire hazard, or cause unsafe operation.
- Voiding your warranty: Most manufacturer warranties are voided by DIY repairs.
- Damaging the new board: Static electricity or incorrect connections can destroy the sensitive electronics on a new board.
- Misdiagnosis: The board may be a symptom of a larger problem, like a failing transformer. Replacing it won’t fix the root cause.
When should you call a certified technician?
Call a professional any time you feel uncertain or overwhelmed. If you encounter complex diagnostic codes, have repeated failures, or have any safety concerns, it’s best to rely on an expert. Look for technicians with certifications from organizations like NATE or ASHRAE certification, which indicate a high level of competence. You can Find a NATE-certified technician to ensure you’re hiring a qualified professional. Sometimes, the smartest DIY decision is knowing when not to.
Frequently Asked Questions about Furnace Control Boards
Here are answers to the most common questions we receive about furnace circuit board repair.
How long does a furnace control board last?
On average, a furnace control board has a lifespan of 10 to 15 years. This can be affected by several factors. A well-maintained furnace in a temperate climate will put less stress on the board. Conversely, a furnace that works overtime during harsh Minnesota winters will experience more wear.
Regular maintenance is the best way to extend the board’s life. Clean filters and annual tune-ups prevent the furnace from straining, which protects the control board and all other components. For more tips, see our guide on Effective Furnace Maintenance Tips.
Can a furnace circuit board be repaired instead of replaced?
Yes, sometimes a board can be repaired at the component level, which can be a cost-effective solution. Common repairs include re-soldering fractured solder joints or replacing individual components like stuck relays or failed capacitors (which often appear swollen or are leaking).
However, this type of repair requires specialized electronics knowledge and tools, including a soldering iron. If the board has extensive damage, multiple failures, or the repair cost approaches that of a new board, replacement is the more reliable and sensible choice.
What’s the difference between single-stage and multi-stage control boards?
The difference is similar to a standard light switch versus a dimmer. Your control board must match your furnace type.
-
Single-stage control boards are for furnaces with two settings: on (at 100% capacity) or off. The board’s job is to manage the basic on/off heating cycle and a single-speed blower.
-
Multi-stage and modulating control boards are more advanced. They work with furnaces that can operate at different capacity levels (e.g., 60% on a mild day, 100% on a very cold day) and often control variable-speed blowers. These boards act like small computers, making constant adjustments to optimize comfort and efficiency.
While multi-stage systems provide more consistent heat and are more energy-efficient, their complex control boards are more expensive to replace and require more specialized knowledge to service.
Keep Your System Running Smoothly with Professional Care
This guide has shown that while a DIY furnace circuit board repair is possible for those with the right skills, it’s a job that requires careful attention to detail and safety. Working with electricity and gas carries inherent risks, and knowing your limits is key.
If you feel unsure, if the problem seems too complex, or if you simply want the peace of mind that comes with expert service, that’s where we come in. Here at Midland Heating & Cooling, we’ve been proudly serving the Twin Cities area, including Minneapolis, St. Louis Park, Edina, Eden Prairie, and Bloomington, since 1950. We are committed to 100% customer satisfaction, and our team is made up of certified technicians who know furnaces inside and out. You can count on us for flexible, on-time service and a long-standing reputation for customer care.
Beyond repairs, remember the value of regular maintenance. An annual check-up is the best defense against unexpected breakdowns and can significantly extend the life of your control board and entire heating system. A well-maintained furnace runs more efficiently, saving you money.
Whether you’re facing a tricky diagnostic code or a repair that’s beyond your comfort zone, our team is here to help.
For expert furnace circuit board repair in Minneapolis, contact our team today! We’re dedicated to keeping your home warm and cozy through every Minnesota winter.
Furnace Maintenance


